
Colour accuracy and calibration of the Dell U2711
The Dell U2711 arrives factory calibrated and with the test protocoll
enclosed in the box, my screen had this paperwork attached.
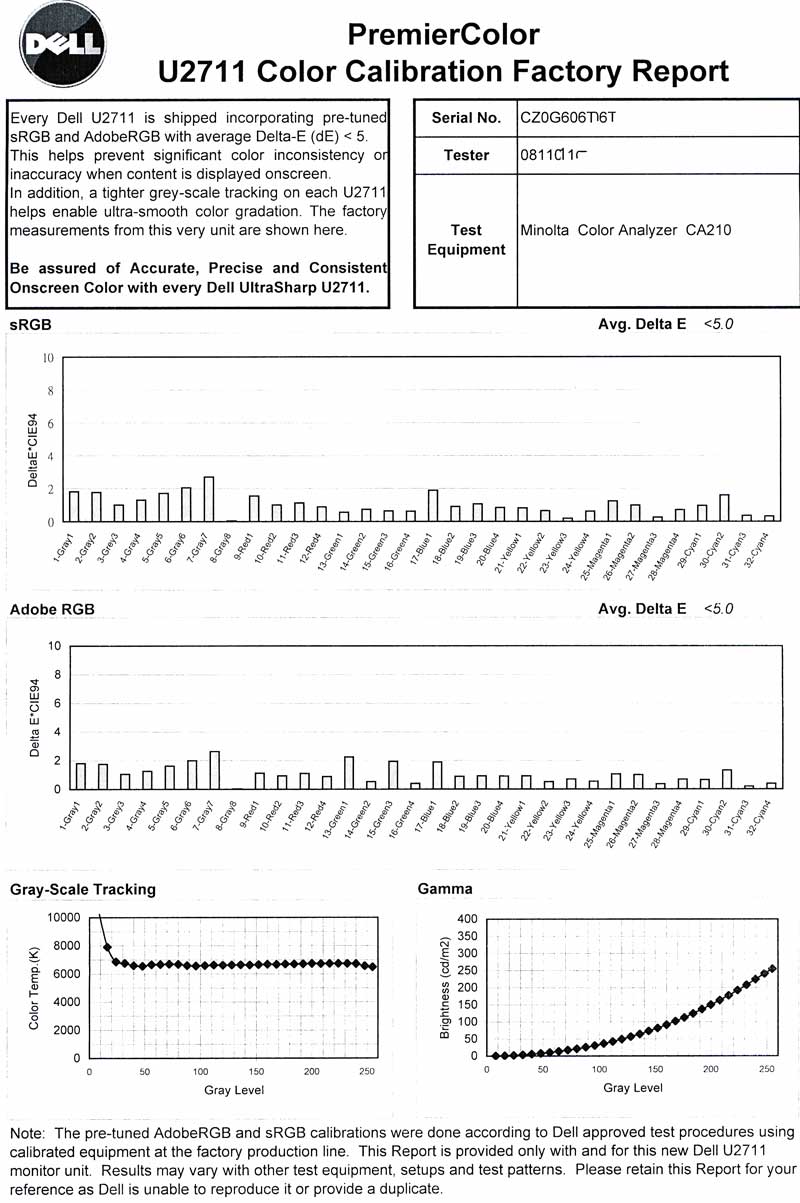
As you can see in the factory report above Dell only promise that your
screen will be within less than 5 in average Delta E however the test
report shows that this actual screen is much better.Even if the colors of this Dell 27 inch screen are great right out of the
box it doesn't mean that they can't be improved by a proper
calibration done by a human person equipped with a proper
colorimeter a good calibration software and a bit of practise and
patience.I will now show you how!
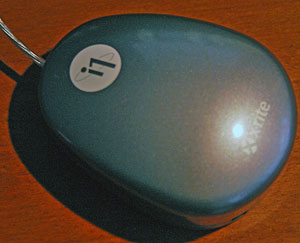
Dell U2711 + i1 Display 2 and Eye Match 3.6.2 software
The difference between a Pro and a Semi Pro screen is often found in
the possibility and way of how the calibration can be done.The screens that are considered to be Pro screens are always equipped with hard ware calibration possibility and most of the
time shipped with the necessary hardware and software to perform
the calibration with.
The Pro screens have their own built in LUT* to assist the calibration
and make the calibration procedure faster and more consistent and
accurate.
High end monitors made for the graphic industry made by Eizo, Lacie and NEC are all of this type, they are also unfortunately carrying a PRO level Price tag that can't be justified for a happy amateur as myself :-LUT*"A colour look-up table (CLUT) is a mechanism used to transform a range of input colours into another range of colours. It can be a hardware device built into an imaging system or a software function built into an image processing application. The hardware colour look-up table will convert the logical colour (pseudo-colour) numbers stored in each pixel of video memory into physical colours, normally represented as RGB triplets, that can be displayed on a computer monitor. The palette is simply a block of fast RAM which is addressed by the logical colour and whose output is split into the red, green, and blue levels which drive the actual display (e.g., a CRT or cathode ray tube)." Ref:http://en.wikipedia.org/wiki/Colour_look-up_table
The hardware doesn't look particular high tech, it looks quite a bit
like a regular computer mouse.
 |
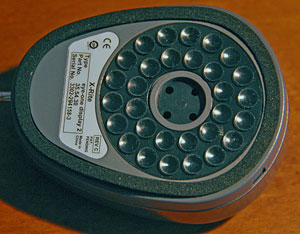 |
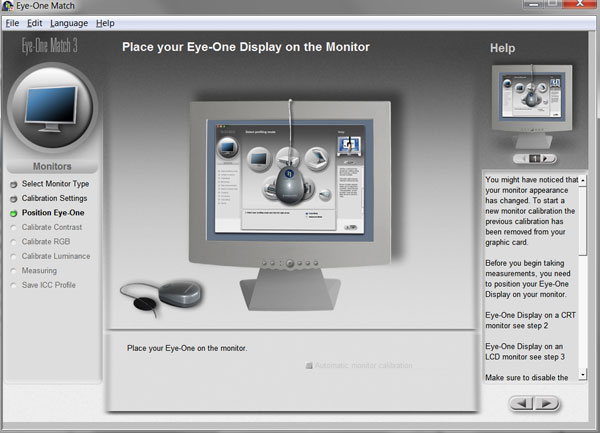
Before you start to use the i1 display 2 unit read the manual!
It is important to install the software before you hook up the
hardware sensor, it is also important to NOT press the sensor mouse
against the screen if you own a LCD screen.You may cause damage to
your screen if you do, the suction cups is only intended for old style CRT's.
|
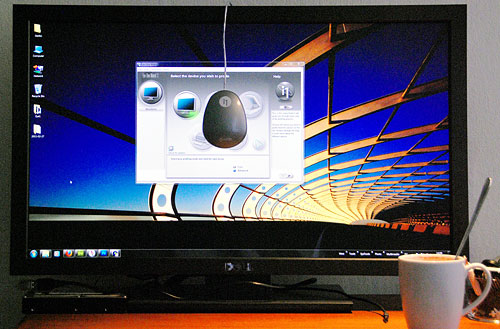
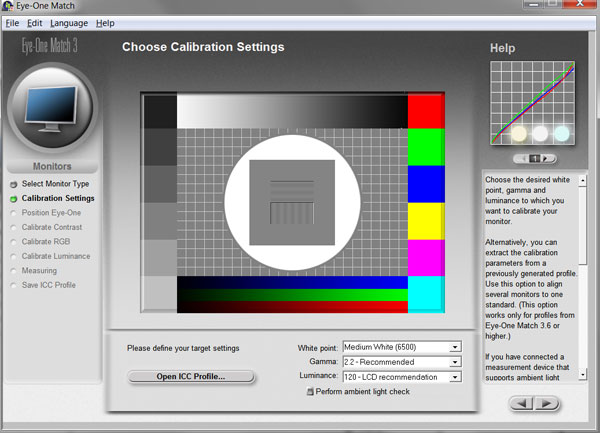
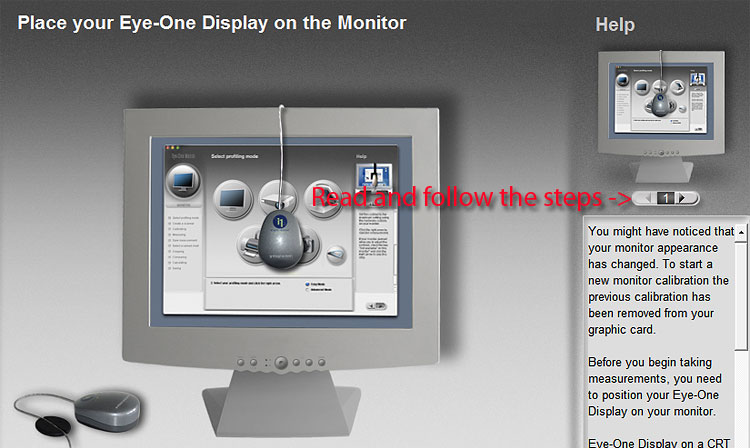
My Dell U2711 monitor and the i1-display colorimeter in the initial stage of calibration. I recommend you to use the Advanced calibration option for best possible result and control. |
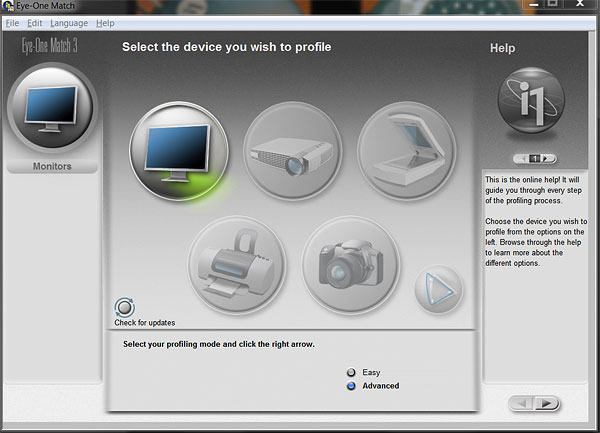
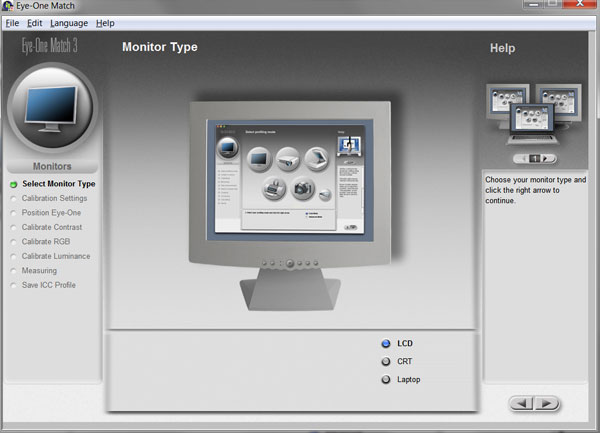
The actual calibration is quite easy to perform and there isn't much to
say about it. In fact its so easy that you won't even get a proper manual with
your i1-Display 2 unit! Just follow the on screen tutorial and take your time to
perform the steps as carful as possible for the best result. (Read the tutorial steps like "Within green band" as in the midle of the green band! and try to get as close as possible).On page 1 of this review you will find an overview of the OSD menu and how
to bring up the part of it that we need to use during the calibration.
Step 1Step 2Step 3Step 4
When step 4 is completed now use the step by step tutorial to finish the calibration then at the final stage you are asked to name your
profile file I suggest you use the days date and monitor name.
At the final stage it is also possible to do a before and after visual
check to make sure the resulting calibration looks sensible, if it doesn't you have probably done something wrong or overlooked something during the initial stages,
if so start over again to do it properly.
Analyz and result of the Dell U2711 calibration.

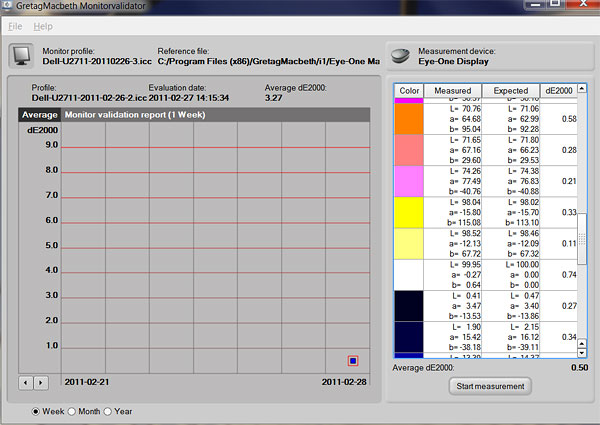
This is the evaluation/performance check screen that is brought up
when you sellect Help/Start Monitor Validator .
When my calibration was done (I made a few attempts to get the best result and to learn how to use the software) I used the built in function in the Eye-One Match software to analyze the calibration
result.
The resulting table (seen to the right) tells me that the worst deviation was on
the bright red at 1.18 dE2000 and the
Average was a very nice 0.5 and I'm
now even more happy with my new
monitor, now when I know it is such a
a good performer and for the price it is
in fact an exellent performer so good
that I was surpriced by the results I got
when I did the analyze.
Just so you will be able to evaluate those figures I will give you some references that I have found in a computer magazine that made a large group test of 26-30" screens
recently (Jan 2011).Test results in that magazine was as follows. (Top 8 of 12 tested modells).
Monitor modell Average/High dE2000 Lacie 526
Nec Multisync 3090
HP ZR30w
Eizo Coloredge CG303w
Dell Ultrasharp U3011
Iiyama Prolite E2710HDSD
Iiyama Prolite E2607WM
Dell Ultrasharp U2711
0,6 /2,4
1,4/3,4
1,7/3,9
1,7/3,8
2,1/6,5
2,1/7,3
2,2/7,3
2,4/5,2
My Dell Ultrasharp U2711
Calibrated with i1-Display 20,5/1,18 Worth to mention is that the Lacie 526
only is a 26" screen with a small
working space of 1920x1200px at about
2,3times the price of the Dell-
UltraSharp U2711at the time of test.
However the colorimeter is included in
the Lacie price tag.
The HP ZR30Wwas the test winner
costs about 1,9x the Dell U2711 but is
a large 30" monster screen so if you
need a large one..
The Dell U3011was also considered to
be a great performer but was let down
by a bit higher price than the HP so if I
was shopping for a 30" I would probably
have gone for the HP ZR30w
The EIZO CG303Wwasn't bad at all, but
at a price tag of 4x Dell U2711 it wasn't
a particular attractive fox during my
hunt for a price effective screen!
Widget contains products mentioned in
this review, buying gear from Amazon
by clicking my links is like sponsor my
work and make you feel good to :0)

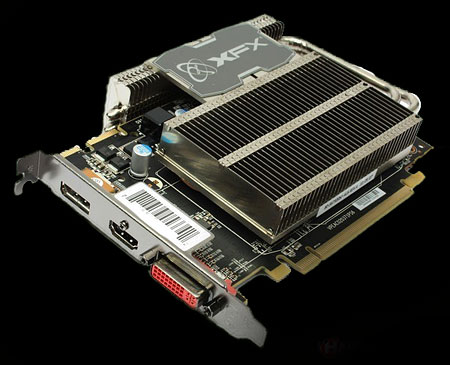
Graphics card for the Dell U2711, Is what I use!
You may wonder how I was able to get this in my opinion fantastic
good calibration accuracy when the Magazine reviewers didn't?Well the Mag didn't actually say that they calibrated the screens before
test was performed, if they actually did calibrate them I don't know.Another factor might be the fact that the Dell U2711 doesn't have a
built in LUT and maybe because of that is more sensitive to the choise
of graphics card/chip?When I built my new PC I was building it with the target of Photo
editing. I don't care about gaming so I went for a lower medium range
PCI-E card.My choise of card ended up to be a ATI Radeon HD5670 with 1GB
GDDR5 Memory on the board I went for a fanless version because I
want my PC to be silent.
I'm not sure of how much I would credit this graphics card should
get for helping the Dell U2711 to output those great color
performances but since it is a fairly cheap GPU card this combo also
will become a fantastic budget combination buy!
Links on this subject
- Wiki about LUT
- Wiki about color management
- Another i1-Display 2 review (More detailed than mine if you want to read more)
- A nice video tutorial of how to use the i1-Display 2 (if you struggle but I bet
you don't)