|
|
Diy photo gear by Stockholmviews.com
|
| |
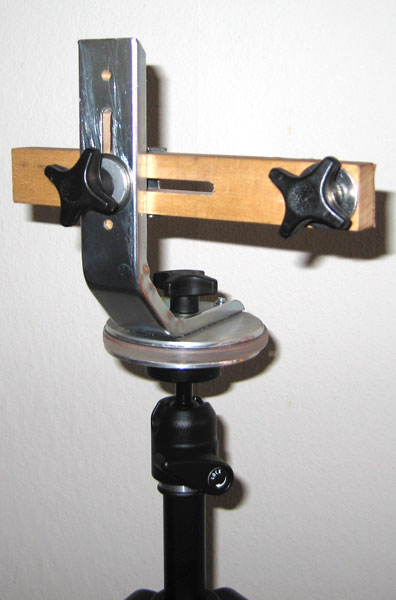
The DIY Panorama head El Cheapo! |
| |
|
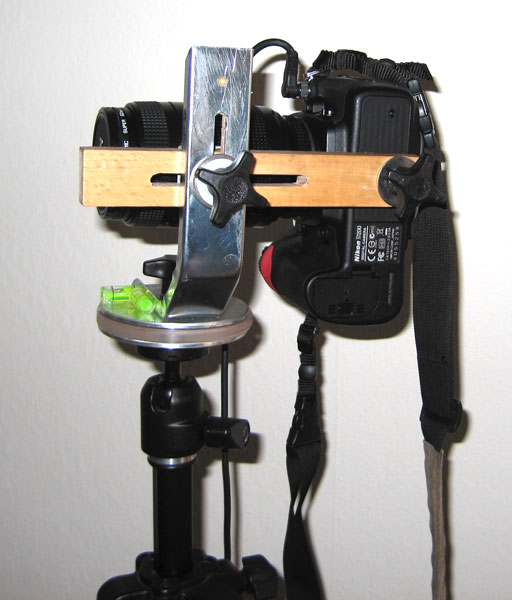
 This is how the finished DIY panorama head looks :0) |
|
|
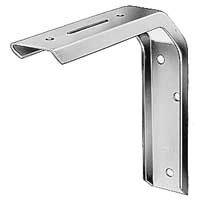
 And I started whit this window post consol! |
|
|
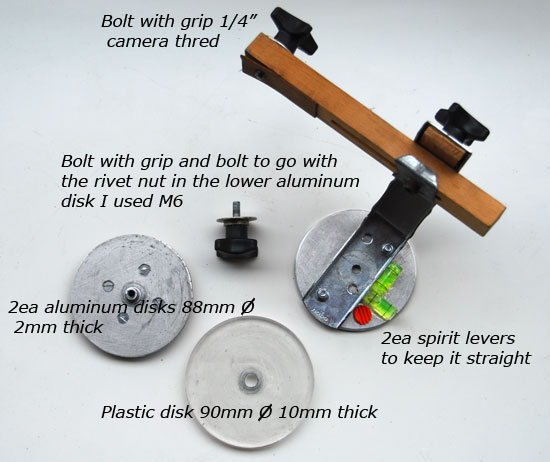
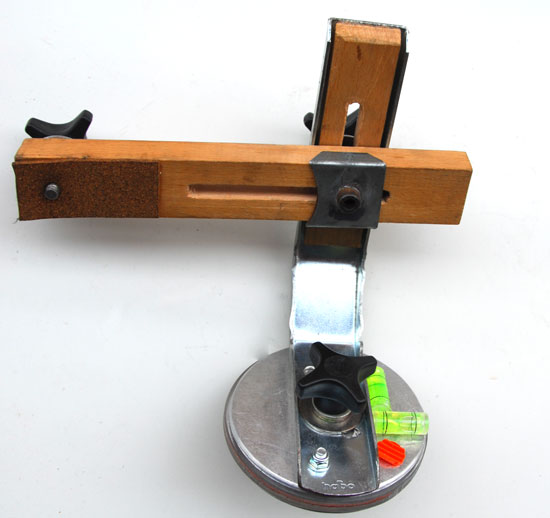
The parts you nead to build your own panorama head! |
|
|
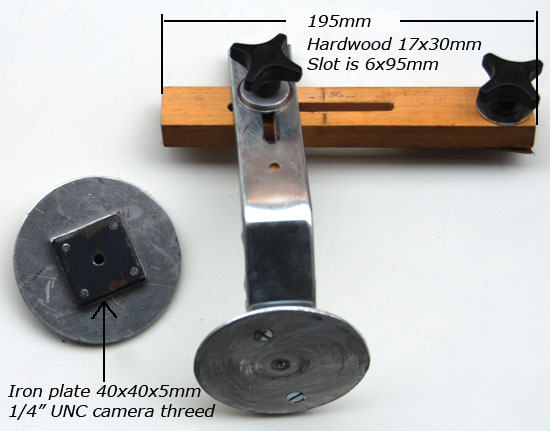
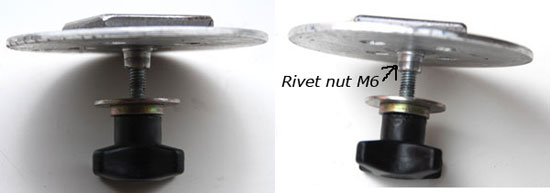
The iron plate is has spacer washers to lift it from |
the rivet nut flange of the lower part of the panorama head bearing. I used M3 screws to fit it to the lower bearing disk. |
|
|
Another view of the lower part of the bearing |
|
|
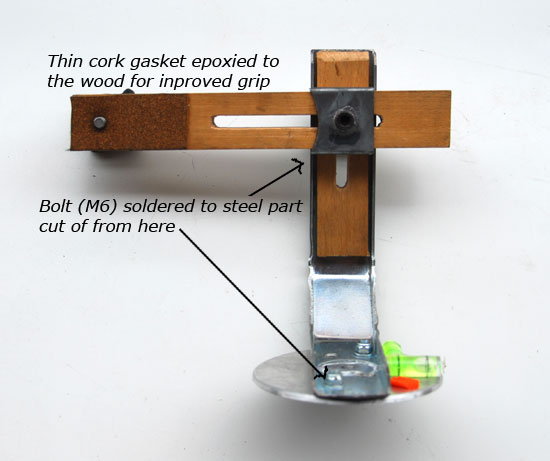
The consol is attached to to the upper aluminum disk with |
2 counter sunk screws protruding part was cut of to be used |
as part of the horizontal bar clamp. |
The clamp contains an M6 bolt soldered to that cut of part |
and an nut with handle to make it easy to adjust lens nodal point. |
|
|
|
|
Two additional pics just in case :0) |
|
|
 |
|
|
|
|
|
|
|