
Inspired by "LensCoat" the model "TravelCoat" I first started this project to get rid of my Sigma "good
protection but bulky" lens cases, just to keep my camera
luggage as compact as possible during travel and hiking.
During my research for suitable material to make the
lens pouches from, I found out that neoprene would be
just perfect, I also found that neoprene bought in sheets
was a bit on the expensive side for me as a cheepskate.
Anyhow wetsuits can be bought quite cheep from
discount stores so I searched and found an full body
wetsuit in size XL for just 35 euro!. Material enough for at least 4 lens poaches and some more
similar projects.
Now all I need is a pair of scissors and some glue :0)
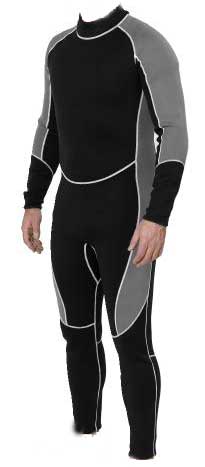
Take the lens that you need to protect and put it in a suitable arm or leg sleeve
push it as far as you find it to fit well. but not to tight.
Make sure that the lens can be easy to pull out and insert again.
Make sure to not cut it to short you need some material to finish of the bottom
and top of the pouch, I suggest that you cut it to about twice the lens length.
When cut is done use some soft clear glue to secure the stitching with
otherwise the threads will easily get loose, I used Plastic Padding Extreme repair
just because I had it handy.
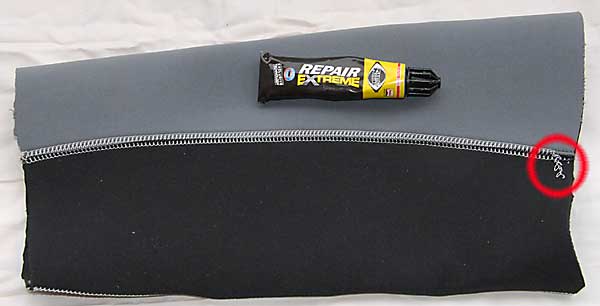
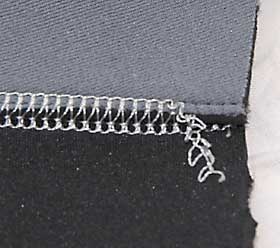
Now cut a disk of some rigid material like thick cardboard or plastic lid from a
food package or similar. (I used material from a scraped suitcase)
Take measurements from the lens and add some extra to the diameter to make sure
that the lens will be able to be removed from the finished poach :0)
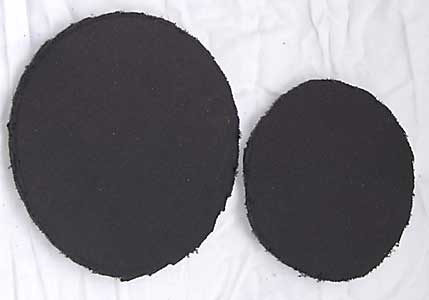
Push the disk in to the sleeve as far as you would like to have your bottom
then put a string of glue around the disk inside the sleeve and leave it to dry
for a wile.
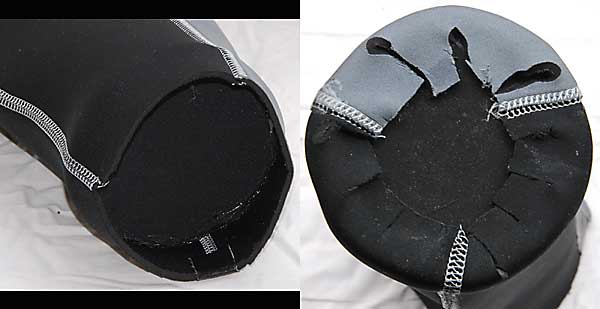
When dry cut up the part of sleeve that will be folded over the disk in to tabs
with a pair of scissors, cut and remove some material so that it not
interfere with each other when folded against the bottom disk.
Now use contact cement to glue the neoprene tabs to the bottom disk.
Now it will look something like this. (I guess yours will look better!!!)
Don't despaired.
there are a solution :0)
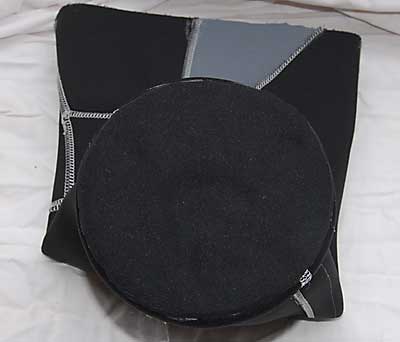
Now cut a piece of neoprene from the leftovers of the wetsuit, spread
contact cement over that piece of material and the surface of the untidy bottom.
Wait until semi dry and put it together, then trim the edges and it will look like this!
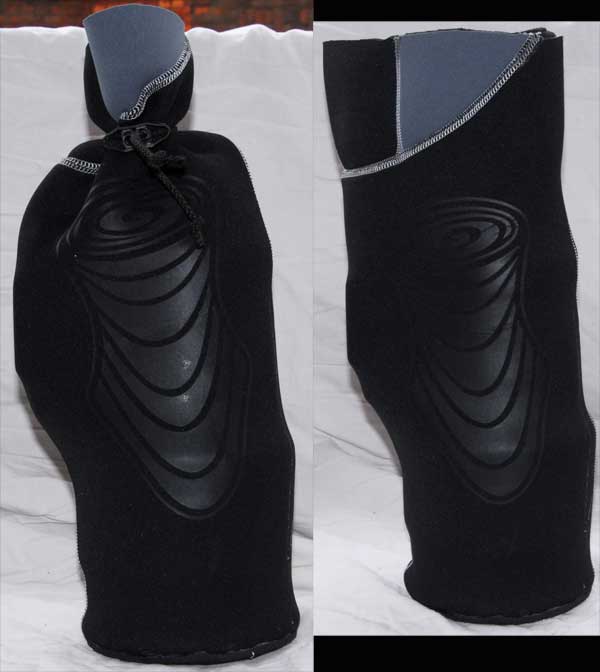

Two different type of straps that can be used to close the DIY neoprene lens poach.

Original Sigma 150-500 OS lens case VS Diy compact and light weight lens pouch.